Check EXIF GPS First
If the original file still has GPS metadata, the coordinates or saved place may answer where the photo was taken immediately.
Upload an image to find where it was taken. The tool checks EXIF GPS when available, then reads landmarks, signs, terrain, streets, and skylines to return a map-ready location you can verify.


Best for screenshots, social posts, travel photos, and old pictures with missing GPS
This page is for users who want a likely answer now, whether the image still has EXIF GPS or only contains visual evidence.
Most people who search where was this photo taken are not looking for broad photography advice. They already have an image in hand and want to know where it came from. Sometimes it is a travel photo with no label. Sometimes it is a screenshot from social media. Sometimes it is an old family picture with no writing on the back. The shared intent is immediate and practical: upload an image, identify the likely place, and understand how reliable the answer is.
That is why this page focuses on the real workflow behind this query. First, a tool should check whether the original file still contains metadata such as GPS coordinates or a location tag. Second, if the image no longer has EXIF data, the tool should analyze visible signals such as landmarks, architecture, roads, language, terrain, and vegetation. Third, the result should help you verify the likely match on a map instead of pretending that every image can be solved with absolute certainty.
A strong page also needs to match the way people actually search. Users often move between similar questions such as where was this picture taken, where is this picture from, where is this picture located, and find where a photo was taken. Those searches all point to the same job: identify the likely location from the photo itself, then verify it with supporting context. This page is designed around that job rather than around keyword stuffing or thin SEO copy.
Related searches such as where is this photo taken, where was this picture taken, and where is this picture located usually split into two needs: recover the original GPS information if it exists, or estimate the place from visible evidence when metadata has been stripped. This page keeps both paths together so you do not have to guess which method to try first.
These are the methods users care about most when they need a usable answer.
If the original file still has GPS metadata, the coordinates or saved place may answer where the photo was taken immediately.
When metadata is gone, landmarks, signs, architecture, roads, vegetation, terrain, and skyline shapes can still point to a likely place.
A serious photo-location workflow does not stop at a guess. It compares the likely result with maps, Street View, satellite imagery, or official landmark photos so the answer can be checked.
Close-up objects, cropped indoor photos, generic streets, heavy filters, and old low-resolution scans may only support a broad country or city-level answer.
Images with strong landmarks or clear environmental context usually produce the fastest and most reliable answers.
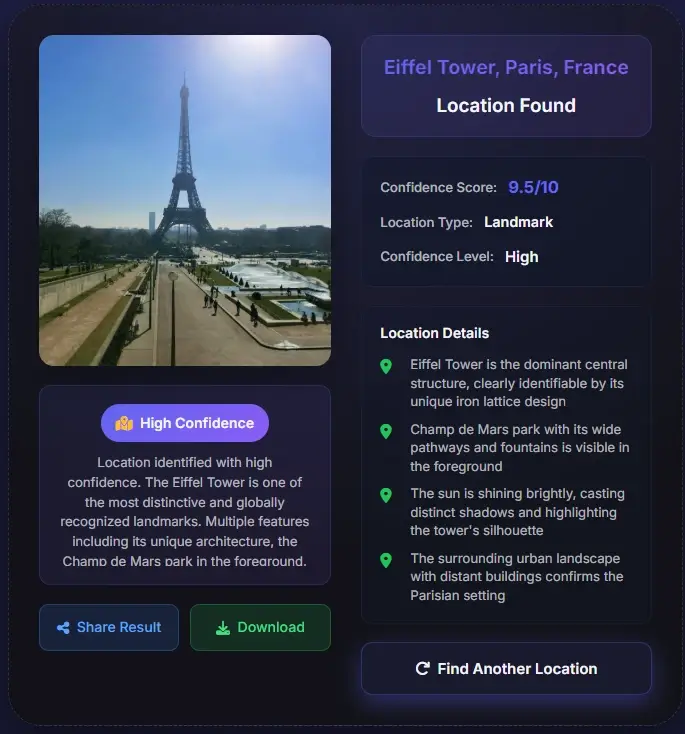

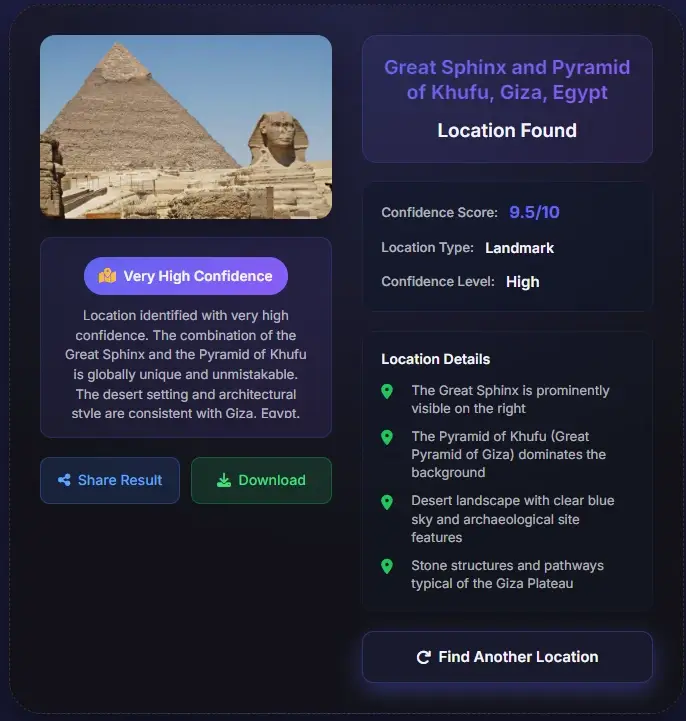
Start with the original file because it may still contain EXIF GPS, date, device, or camera clues. If you only have a screenshot or social download, upload the clearest uncropped version available.
The tool checks GPS-style metadata first, then falls back to visual clues: signs, roads, architecture, landmark shapes, coastlines, mountain profiles, vegetation, and regional street details.
Use the likely location, confidence level, and clue list as a lead. For travel, reporting, research, or documentation, compare the result against maps, Street View, satellite images, and official sources.
The best workflow depends on whether the file still has metadata and how much visual context remains.
| Input type | Best first check | Expected output | When to verify manually |
|---|---|---|---|
| Original photo file | EXIF/GPS scan plus scene analysis | Coordinates, date, device clues, and visible context when available | Best first choice. Still verify if the result will be used for travel, reporting, or documentation. |
| Screenshot or social image | Visual clue analysis | Likely landmark, country, city, or street area based on what remains visible | Metadata is usually missing, so confidence depends on scene detail. |
| Old scanned photo | Landmark, architecture, terrain, and historical context | Country, city, neighborhood type, or known landmark candidate | Older signs, changed streets, and faded details can reduce certainty. |
| Generic indoor or close-up image | Limited visual analysis | Usually a broad clue rather than a reliable exact place | Do not expect an exact address unless unique background details are visible. |
Use the AI result as a starting point, then compare it against details that should stay stable in the real world.
Road curves, intersections, bridges, shorelines, mountains, and building spacing should line up with the suggested place.
Visible language, place names, transit icons, road shields, and storefront names should match the country or city suggested by the result.
Weather, vegetation, architecture age, camera angle, and skyline changes can explain why an older photo may not match current map imagery perfectly.
For high-stakes use, confirm the location with at least one additional source such as Street View, official venue photos, or a trusted map listing.
These are the scenarios most likely to convert because the user already has an image and a concrete problem to solve.
Users search this query when they find an unlabeled picture in a family archive and want to recover the place, city, or country behind it.
This is one of the strongest intents because screenshots rarely keep GPS data. The only path is to analyze the visible scene and infer the place from what the image still shows.
People often search this after seeing a landscape, street, or landmark online and wanting the real destination before they book a trip.
Journalists, researchers, and curious users use this query when they want to test whether an image really matches the claimed location.
Screenshots, social downloads, and reposts often lose EXIF. The tool can still inspect visible landmarks, signs, roads, architecture, terrain, and skylines to estimate where the image was taken.
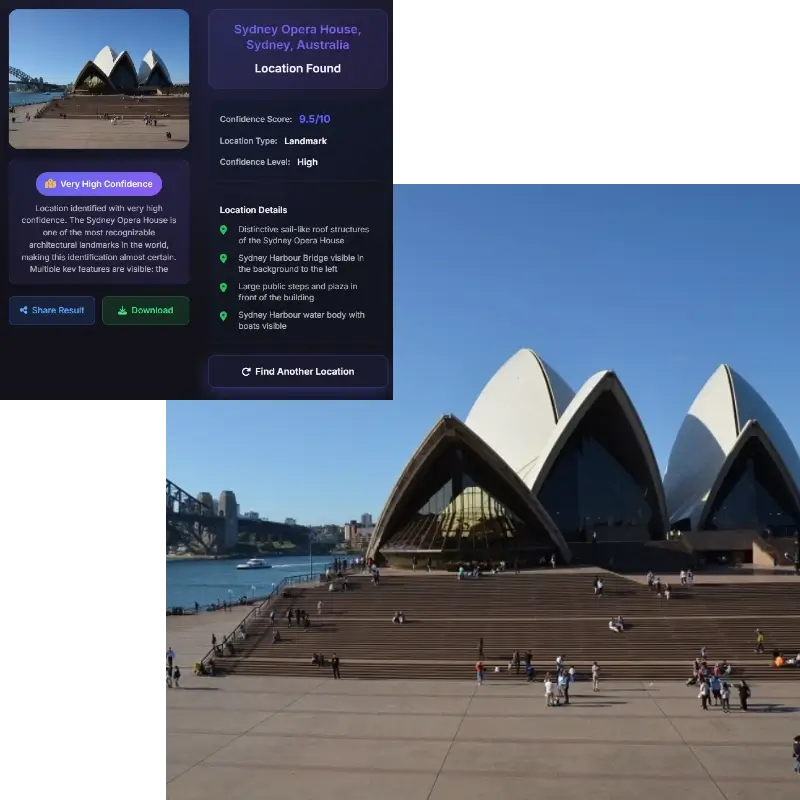
The best answer is not a dramatic one-line claim. It is a structured result. That result should show a likely place name, a confidence score, and clue-level evidence that explains why the place fits. If the photo contains a famous landmark, the answer may be straightforward. If the image shows a neighborhood street, a coastline, or a mountain road, the result may point to a city, district, or region instead. This page is written for that real-world behavior. It treats image geolocation as a problem of ranking evidence, not of pretending that every photo leads to one perfect pin.
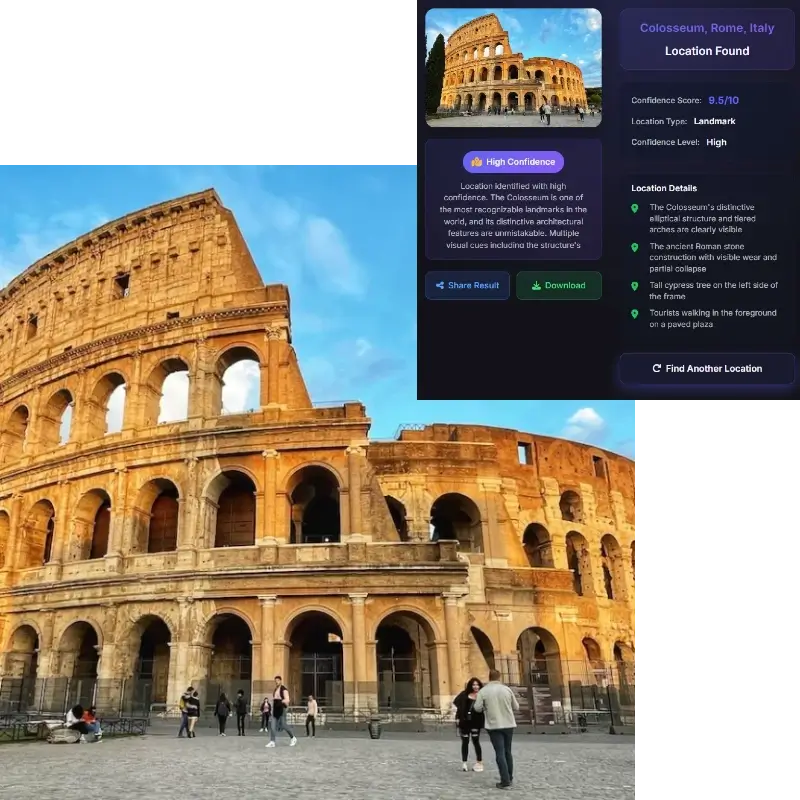
Users who search this topic usually do not want a black-box output. They want to compare the answer against a map and see whether the real place lines up. Once you have a likely location, check road curves, building spacing, landmark orientation, water shape, hill position, or street geometry in Google Maps or Street View. That validation step is what makes the result genuinely useful for planning, research, and documentation. It turns a likely match into a supported conclusion.
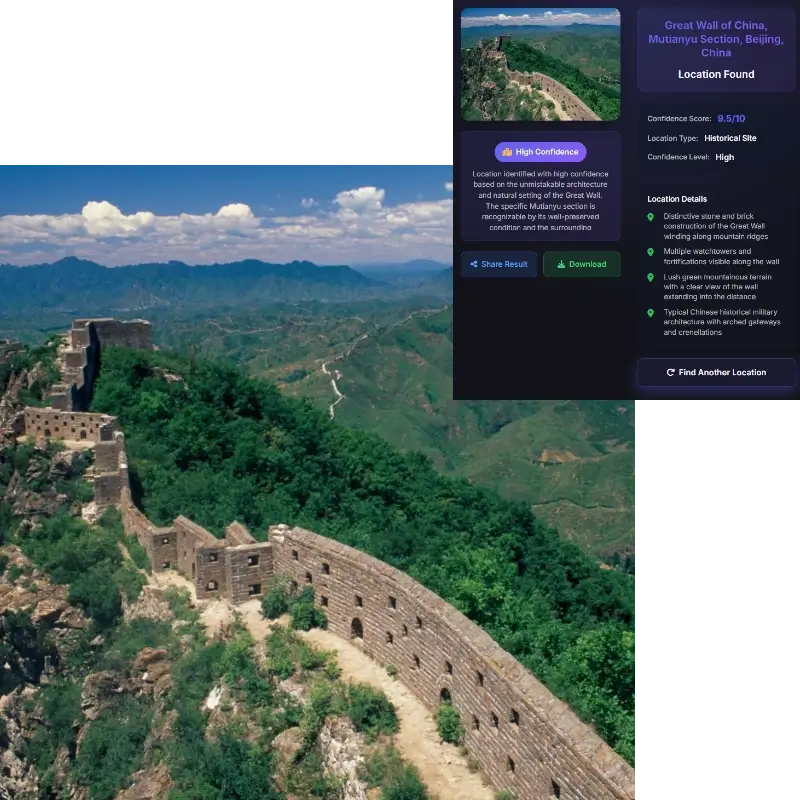
The same tools that help answer this query can expose more than users expect. A window view, a storefront, a street sign, or an identifiable skyline may reveal a neighborhood even when the file no longer contains GPS data. That is why this page includes a privacy note and why the tool should be used for discovery, verification, and learning rather than stalking or exposing private people. If you share personal photos online, assume that visible scene details may still help someone infer the place.
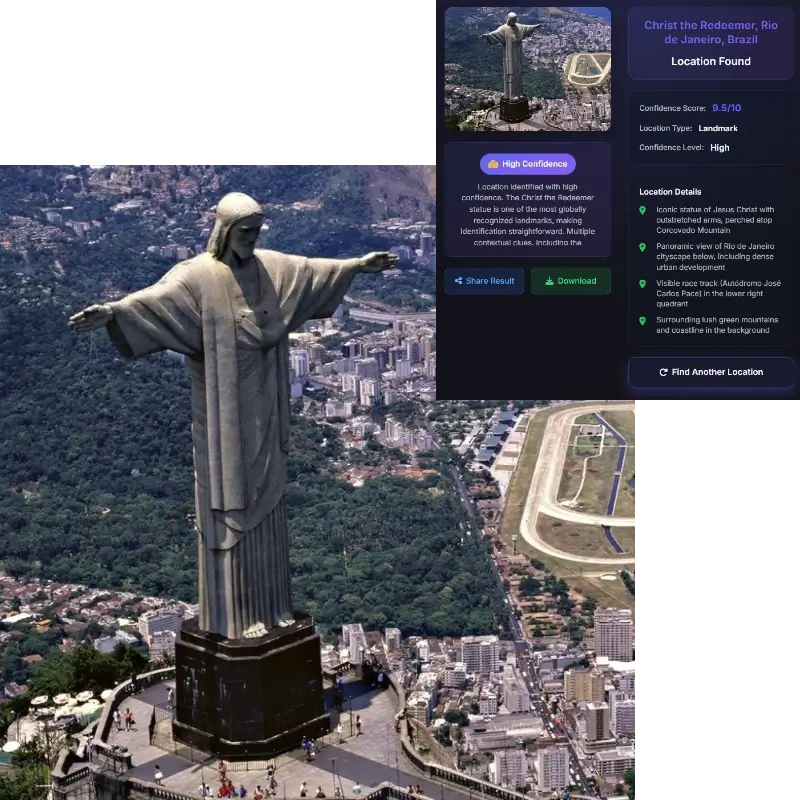
Photo geolocation is useful, but it should be handled responsibly. Visible clues can reveal more than many users expect.
Use the guide when you need a manual EXIF, visual-clue, reverse-search, or map-verification workflow.
Yes. Upload the clearest image available. If EXIF is missing, the tool uses visible landmarks, signs, architecture, roads, terrain, vegetation, and skyline clues to estimate the likely place.
If you are trying to answer this query, start with the original image file if you still have it. Many phones, desktop photo apps, and image viewers show a details panel with date, device information, and sometimes a map or GPS coordinates. If that panel has no location data, the next step is scene-based analysis.
Social media often removes GPS metadata, but the image may still show useful visual clues. Upload the original download or the clearest screenshot and verify the result against a map or official photo.
The answer depends on the image. Clear landmarks and recognizable street scenes can make the result very accurate. Generic suburbs, indoor photos, blurred images, and tightly cropped shots are harder. A good workflow uses the result as a likely match and then verifies it on a map.
Because map verification is often the difference between a plausible guess and a defensible answer. Once the tool returns a likely place, compare the scene with road layout, skyline shape, building lines, landmarks, and terrain in Google Maps or Street View to confirm the match.
Sometimes yes. Even if the file does not contain metadata, someone may still infer the location from a storefront, street sign, skyline, mountain line, coastline, or a view from a window. That is why scene details matter for both discovery and privacy.
Use the original uncropped photo when possible. It may include GPS metadata and usually preserves more visual context than a screenshot or compressed social media image.
It can often estimate the place if the screenshot contains visible landmarks, signs, buildings, roads, terrain, or other location clues.
Use the visual-clue workflow. Upload the clearest version and check whether signs, buildings, roads, landscape, language, or landmarks still appear. Missing EXIF does not make the photo useless, but it usually lowers certainty.
Yes, if the screenshot still shows useful background context. The tool cannot recover GPS from a screenshot, but it can analyze visible clues and suggest a likely place, city, or landmark.
Accuracy depends on the image. Famous landmarks, readable signs, and distinctive scenery can produce strong matches. Generic streets, interiors, cropped images, and low-resolution scans may only support a broad location.
Do not use photo geolocation to stalk, expose, or harass someone. The tool is intended for travel research, image verification, old-photo context, and public-location discovery. Always respect privacy and local laws.
A photo location usually means the camera position. The place shown may be a landmark, building, street, mountain, or coastline somewhere else in the frame. Use camera-location evidence for where the photo was taken and visual-place evidence for what the image shows.